
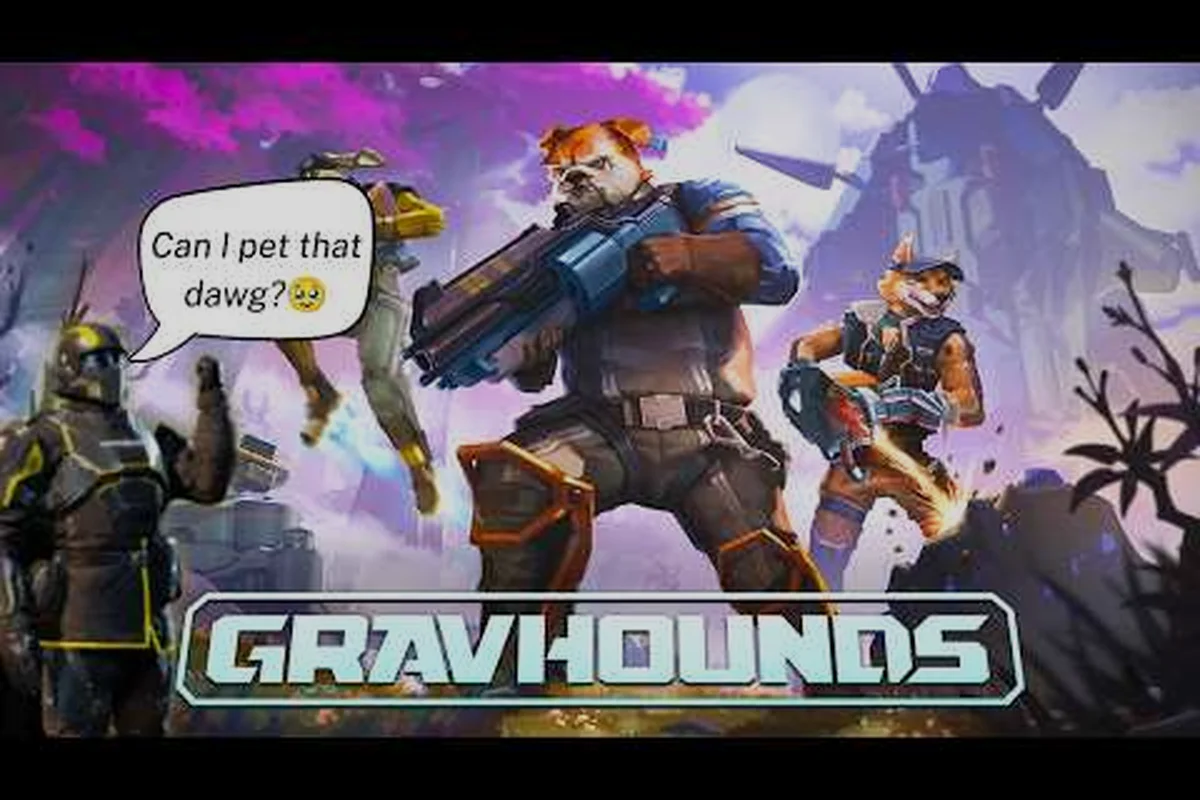
Dozer abilities make GRAVHOUNDS players stronger by turning a durable frontline fighter into a dependable base defender. Learn which role fits best, how to support turrets, and what belongs in a practical dozer build.
Dozer Abilities and the Core Tank Role
Dozer abilities are most valuable when their strengths serve a clear team function rather than simply maximizing damage. In GRAVHOUNDS, a well-built tank should occupy dangerous space, protect fragile teammates, and keep enemies engaged near fortifications. That makes Dozer less of a solitary powerhouse and more of a mobile defensive anchor.
The practical dozer build centers on three priorities: survivability, area control, and compatibility with turret-supported positions. A player who treats every available offensive tool as equally important will usually create a character that survives awkward exchanges without reliably winning them. Dozer performs better when the loadout closes gaps in a squad’s defense.
| Dozer build priority | Functional purpose | Best combat situation | Common mistake |
|---|---|---|---|
| Survivability | Stay active while absorbing pressure | Base entrances and exposed lanes | Choosing defense without enough mobility |
| Area control | Restrict where enemies can safely fight | Tight corridors and chokepoints | Rushing ahead of the squad |
| Turret support | Protect fixed damage sources | Fortified compounds | Standing where turrets cannot cover him |
| Threat focus | Eliminate priority targets | Organized enemy pushes | Chasing a distant scout |
| Team protection | Create space for ranged allies | Recovery and repositioning | Leaving support players exposed |
Reading Dozer’s Strengths
A tank should create usable space for everyone around him. That can mean drawing fire away from a healer, blocking a dangerous firing lane, or giving a turret operator time to reload. The strongest defensive footprint comes from positioning rather than stacking every defensive item available.
Community experience generally treats Dozer as a dependable front-line presence whose value rises in coordinated fights. Because different players may encounter mission, enemy, and equipment variations, specific performance numbers can change, but the role remains consistent: use durability to protect valuable ground. When considering all gravhounds, Dozer occupies the clearest tank-oriented slot, although tanking alone does not guarantee the best result in every squad.
Choosing a Defensive Position
Positioning should answer three practical questions before a fight begins:
-
What must survive? Identify the turret, objective, supply pile, or teammate who cannot easily retreat.
-
Where does the enemy enter? Fight where your weapons can cover more than one approach instead of chasing an isolated opponent.
-
When should the team move? A tank should create a controlled withdrawal, not become separated from the squad.
A useful rule is to keep Dozer one support action away from his allies. If repositioning requires crossing the entire battlefield under fire, the tank may be durable but functionally ineffective. The GRAVHOUNDS base defense overview offers useful context for placing fighters around fortified objectives.
Dozer Build Options for Different Combat Styles
There is no single universal dozer build because the useful answer changes with the encounter. A base attacker wants to survive repeated approaches, while an open-field fighter needs more room to maneuver. The right selection gives Dozer a job without making him slow, fragile, or unable to pursue a damaged threat.
| Build style | Equipment direction | Combat pattern | Strongest benefit |
|---|---|---|---|
| Bulwark | Durable weapon and defensive equipment | Hold near the team’s center | Protects allies through repeated attacks |
| Juggernaut | Heavy weapon with a focused movement setup | Press forward behind armor | Breaks formations and creates openings |
| Wrecking Crew | Area damage paired with sustained durability | Fight across clustered enemies | Punishes groups near structures |
| Mobile Guardian | Balanced weapon with lighter defensive gear | Patrol entrances and escort players | Covers more ground without abandoning the squad |
The Balanced Tank Setup
The balanced setup is the safest starting point for players who do not yet know whether missions favor close or long combat. It preserves enough durability to enter dangerous areas while keeping enough mobility to support teammates. This approach is particularly effective when the squad already has dedicated weapon specialists and a clear division of roles.
Build around a weapon you can use consistently rather than one with a theoretically higher ceiling. Repeated accuracy, reload planning, and target selection usually create more value than a small theoretical advantage paired with poor positioning. Reviewing the broader weapon and loadout guide can help narrow the equipment options before testing them in a match.
The Aggressive Tank Setup
An aggressive dozer build is useful when the team needs someone to create space quickly. Dozer moves with the push, focuses priority targets, and uses his durability to reach positions that ranged teammates cannot occupy safely. This is an offensive use of the tank role, but it still requires discipline; charging into open terrain without support turns the same build into an early casualty risk.
The aggressive variant works best against organized opponents when the squad can follow quickly. It is less suitable as the sole defense for a remote base because the fighter may create a gap between the main force and the objective. Community reports consistently emphasize positioning over raw equipment when comparing builds, which supports using the aggressive setup as a coordinated plan rather than a solo strategy.
When to Avoid a Heavy Build
Heavy equipment is not automatically superior. It can reduce movement flexibility, consume more valuable resources, or force the player to carry a role that another teammate already fills. Before committing, ask whether Dozer needs to cross distance, chase a specific target, protect a mobile squad, or remain beside a turret.
| Situation | Heavy build value | Lighter build value | Decision |
|---|---|---|---|
| Fixed objective defense | Strong | Moderate | Favor durability |
| Wide-open pursuit | Moderate | Strong | Preserve mobility |
| Dense enemy groups | Strong | Moderate | Bring area pressure |
| Escorting mobile allies | Moderate | Strong | Reduce encumbrance |
| Prolonged base hold | Strong if supported | Variable | Test sustain and recovery |
The best choice is the one that matches the objective and the squad composition. If all gravhounds are being compared for a balanced roster, Dozer is most distinct when assigned to protection, while another fighter takes the highest-damage role.
Turret Support and Base Defense Tactics
Dozer becomes especially effective when his movement reinforces fixed defenses. Turrets deliver repeatable pressure, while a tank controls where opponents can approach them. The objective is not to stand directly in front of every installation; it is to make each defended position harder to challenge without forcing allies to scatter.
A practical defense cycle has four stages: identify the approach, delay the first wave, protect the active turret, and collapse on the breakthrough point. Dozer performs best during the second and third stages. Holding the center of a compound may look impressive, but a defender who can intercept enemies before they reach the objective often creates greater value.
| Defense stage | Dozer action | Supporting action | Result |
|---|---|---|---|
| Approach identification | Read the earliest threat | Teammates cover wider lanes | Avoids scattered reactions |
| Delay | Absorb initial pressure | Turrets fire at exposed targets | Buys turret uptime |
| Turret protection | Intercept the nearest enemy | Keep the operator mobile | Limits damage to key assets |
| Collapse | Focus a damaged attacker | Ranged allies finish the target | Prevents enemy recovery |
| Recovery | Cover the wounded teammate | Repair or resupply | Restores the defensive line |
Holding a Turret Without Blocking It
Turrets need visibility and functioning firing lanes, so Dozer should protect their vulnerable sides rather than occupy the muzzle. Stand where he can engage approaching enemies without obstructing friendly shots. If the defensive geometry allows only one entrance, place the tank slightly beyond the turret’s center so he becomes the first meaningful target.
The damage soak window is the critical period. During that window, defenders collect several benefits at once: the turret remains active, healing resources are not spent, and the squad can focus its stronger attacks on enemies that have already crossed the perimeter. Patience during this phase is more valuable than chasing a kill that briefly retreats.
Defending Resources and Objectives
Bases often contain resources more valuable than a single opponent. Protecting those assets changes the target priority from “highest damage” to “closest path to the objective.” Dozer should face that route early, because even a short interruption can prevent an enemy from reaching a container, console, or installation.
A strong defense also uses distance. Let turrets begin firing while Dozer protects their operating space, then advance only when pressure builds. The base building guide can help establish entrances, sightlines, and fallback positions before combat begins. A carefully arranged base gives the tank more options without requiring perfect individual fights.
Dozer Build for Frontline Combat
Frontline combat is where Dozer’s survivability becomes useful, but durability only creates value when it supports decisive actions. Chasing every opponent wastes the tank’s position and leaves the squad vulnerable behind him. The better approach is to identify a target that affects the entire encounter, then move toward it through supported lanes.
Start by separating threats that demand attention from enemies that merely look dangerous. A ranged attacker shooting the squad may be more urgent than a heavily armored opponent standing at medium range. Dozer can create an opening by focusing fire, blocking a shot, or drawing aggression away from vulnerable teammates.
| Target priority | Reason to engage | Suitable Dozer behavior | Avoid |
|---|---|---|---|
| Squad-threatening ranged attacker | Can interrupt the whole team | Close distance or interrupt the firing lane | Chasing a harmless target |
| Healer or support unit | Restores enemy durability | Prioritize when access is safe | Crossing open ground alone |
| Damaged frontliner | Finish pressure before recovery | Secure the retreat lane | Losing the main objective |
| Enemy scout | May reveal or redirect the team | Handle briefly when convenient | Disrupting the whole formation |
| Heavy defender | Difficult but central target | Combine with team focus | Spending the entire fight alone |
Protecting a Low-Damage Backline
Dozer’s clearest value appears beside ranged teammates with strong potential but limited durability. When he blocks incoming fire or occupies the enemy’s attention, those allies can maintain pressure. The support player should still use cover and avoid assuming that Dozer can protect every direction at once.
Watch for the moment the formation breaks. If a teammate is isolated, pull back together rather than extending the tank alone. A controlled retreat with the squad preserves future value, whereas a heroic but isolated charge often ends the fight. This is especially important in missions where a failed defense costs more time or resources than a short retreat.
Duo and Squad Compositions
Dozer works best beside characters whose strengths complement his. High-mobility fighters can cover angles the tank cannot, while reliable ranged dealers create the focus window Dozer needs to finish dangerous targets. The general GRAVHOUNDS character guide can provide a broader view of roster roles and unlock progression.
| Composition | Dozer’s assignment | Teammate assignment | Main benefit |
|---|---|---|---|
| Tank plus sniper | Intercept close threats | Remove distant priority targets | Covers two combat ranges |
| Tank plus support | Hold the contested position | Restore the squad | Sustains longer engagements |
| Two tanks | Split defensive lanes | Protect alternate approaches | Prevents one-sided pressure |
| Tank plus mobile attacker | Hold the objective briefly | Flank and disrupt enemies | Creates crossfire and confusion |
| Full balanced squad | Stabilize the center | Cover fire, mobility, and support | Lowest dependence on one role |
Avoid building around an exact “one character must be present” rule. Enemy composition, available equipment, and player confidence can change the strongest team arrangement, but a clear role assignment remains more reliable than placing five fighters in the same position.
Finn Abilities and the Finn Loadout Question
Finn is a separate character whose identity should not be confused with the tank-focused Dozer role. Players asking about gravhounds finn and comparing finn abilities may be trying to decide whether they want a different approach to defense. The useful distinction is not simply whether one character is “better,” but how each supports the squad.
Without verified numerical ability values, assigning precise damage, health, or cooldown figures would create misinformation. Instead, compare the roles players can observe: Dozer’s protection-oriented kit and Finn’s individual fighting strengths should determine which character occupies the frontline, rear position, or mobile flank.
| Comparison point | Dozer | Finn |
|---|---|---|
| Primary identity | Defensive anchor | Independent combat specialist |
| Ideal job | Protect allies and fixed assets | Exploit mobility, reach, or personal damage |
| Team contribution | Creates safe operating space | Secures or pressures a priority target |
| Best position | Between threats and protected allies | Flank, approach, or pursue |
| Build priority | Durability with useful offense | Offensive confidence with enough protection |
| Failure pattern | Overextending alone | Playing too cautiously for the chosen role |
Building a Practical Finn Loadout
A practical finn loadout should complement Dozer rather than duplicate him. If Dozer holds the central approach, Finn can take an adjacent lane, locate a dangerous opponent, and prevent that enemy from attacking the squad from the side. This division produces more value than two characters entering the same narrow space and competing for targets.
The same principle applies when Finn is used alone. A survivable setup is useful, but a passive loadout can waste the character’s potential. Review the Selene abilities and loadout analysis for another example of how a character’s kit should shape equipment choices rather than follow a generic strength rule.
Comparing all gravhounds
Players comparing all gravhounds should assess four practical categories: protection, damage, mobility, and support. Dozer naturally earns a place in the protection category, while Finn may cover a different position depending on his actual kit and the player’s confidence with that character. Gear quality matters, but role clarity usually makes a larger practical difference during a match.
A useful team audit is to list each player’s primary job in one phrase. If everyone is described as a damage dealer, the squad probably lacks a protector. If everyone is described as a tank, it probably lacks flexible damage. Dozer becomes more valuable in the first situation and less distinctive in the second, which is why flexible compositions generally outperform rigid ones.
Practical Dozer Build Checklist
A reliable dozer build should be tested in stages: survival first, combat effectiveness second, and personal preference last. Players often spend too long comparing theoretical damage when the larger problem is the absence of a clear role. Before entering a match, confirm that the equipment supports the assigned position and that you know when to advance or withdraw.
| Preparation stage | Check | Result |
|---|---|---|
| Role selection | Choose protector, mobile guardian, or aggressive tank | Clear expectations for the squad |
| Weapon pairing | Select a dependable damage pattern | Consistent fights without perfect conditions |
| Defense check | Preserve enough protection for planned exposure | Lower risk during repeated attacks |
| Mobility check | Account for the distance between positions | Fewer stranded situations |
| Objective check | Identify turrets, supplies, and allies to protect | Higher-value target selection |
| Team review | Compare assigned jobs with other players | Fewer duplicated roles |
Before, During, and After a Fight
Before engaging, find the likely approach and confirm that the squad can reach it. During the fight, protect the active objective while watching the direction of enemy support. Afterward, regroup before healing or reloading, because a separated tank may block friendly fire or draw enemies toward an unprotected teammate.
The three-contact rule is a practical baseline: identify three likely routes, prepare for the first two, and keep a retreat path for the third. This is not a measured game mechanic, so it should be treated as a planning framework rather than an official statistic. Its value comes from reducing the number of surprises that force a bad reaction.
Common Mistakes to Avoid
The most common mistake is standing too close to a turret. The second is chasing an opponent away from the formation. The third is carrying more equipment than the current mission requires. Each mistake pulls Dozer away from the behavior that makes the character useful: controlling access to valuable space.
Do not treat every death as a failure to avoid. Sometimes absorbing a burst enables a teammate to heal or secure an objective. The problem arises when the same aggressive pattern repeatedly produces no lasting benefit. Reviewing recent fights and asking whether the damage created space, protected an asset, or enabled a kill can reveal whether the build needs tuning.
Frequently Asked Questions
What are the best dozer abilities for a tank build?
The strongest dozer abilities support survivability, area control, and protection of teammates or fixed objectives. Priority should go to tools that keep Dozer useful during repeated attacks, while the weapon should provide enough damage to finish weakened targets. Position and team composition can matter more than adding another general-purpose ability.
Is Dozer better than Finn for frontline combat?
Not universally. Dozer is better when the squad needs a durable protector, while Finn may be the stronger choice for mobile pressure or target pursuit. Compare their actual kit, available equipment, and mission demands. The best front-line fighter is the one whose strengths solve the immediate problem without leaving another role uncovered.
What should a dozer build prioritize near a turret?
Prioritize survivability, reliable offense, and the ability to intercept enemies before they reach the turret. Dozer should protect its vulnerable sides without blocking friendly fire. If the position is cramped, a mobile guard may be better than forcing a tank into a role that prevents the turret from operating.
How should players compare Finn abilities and Dozer abilities?
Compare the function each kit performs in the squad rather than looking at isolated numbers. Dozer should protect, occupy, and anchor, while Finn should be evaluated by the combat access and pressure he provides. Include weapon choices, mobility, and the presence of other defenders, because no character operates independently of the full loadout.
Can a Finn loadout replace a tank in a defensive squad?
It can replace a tank when the squad already has sufficient protection and Finn fills another essential job effectively. If protection is the missing role, another damage-focused loadout will not solve the problem. Test the substitution in practice and confirm that objective defense, target coverage, and retreat options remain intact.