
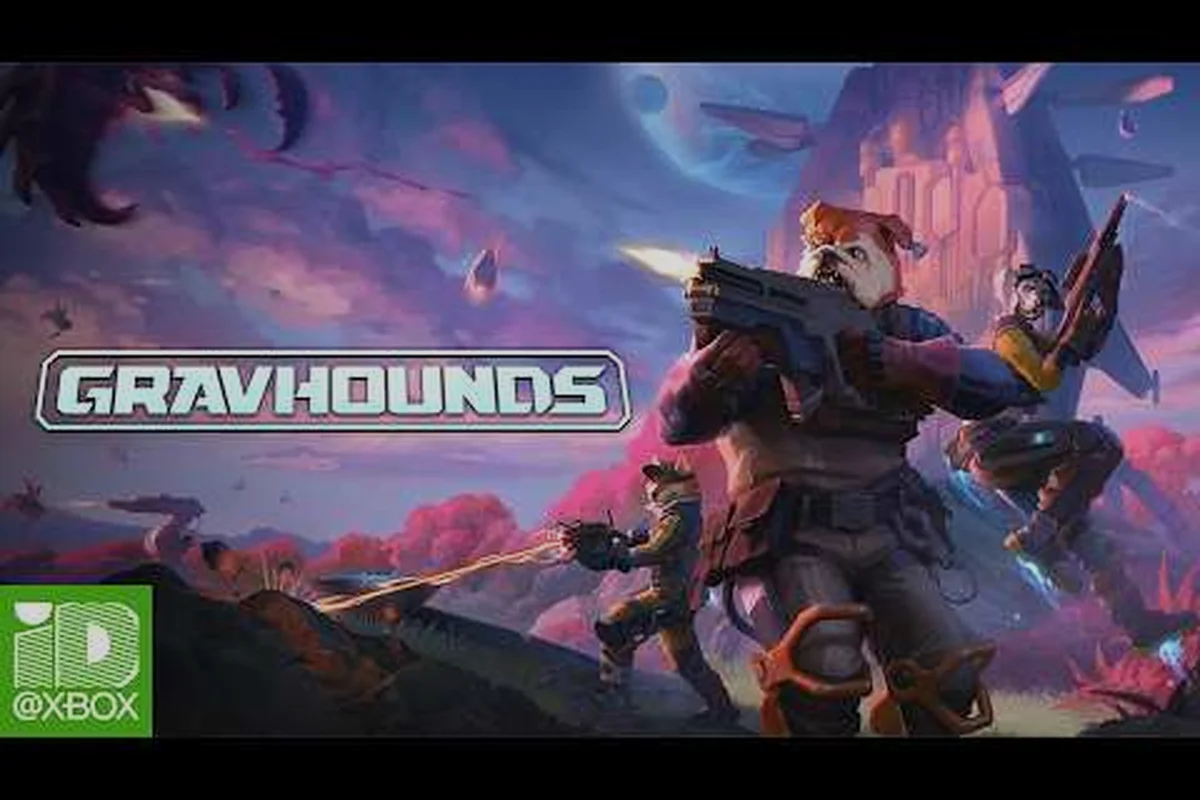
Understanding GRAVHOUNDS danger is the difference between a controlled run and a desperate retreat. Danger rarely arrives as one obvious spike; it builds through enemy pressure, lost resources, and shrinking extraction options. A practical example is a swarm encounter where GRAVHOUNDS begin closing space while the squad’s ammo, med supplies, and extraction access deteriorate. Each failed trade or skipped pickup adds pressure, making a deliberate disengage before the swarm escalates safer than attempting one final engagement. Tracking threat level, remaining supplies, and viable exits shows when danger is becoming unavoidable rather than merely intense.
How GRAVHOUNDS Danger Works
Danger in GRAVHOUNDS is a running pressure system rather than a single difficulty label. The core question is not simply whether enemies are present, but whether your current position can absorb the next increase in attention. Enemy activity, route distance, available extraction points, and your remaining supplies all contribute to the decision.
The practical answer to gravhounds how danger works is to treat danger as a trend. A few enemies in a favorable area may be manageable, while a quieter-looking route can become dangerous if the only exit is far away or if the swarm is already escalating.
Reading the Three Layers of Threat
Threat can be separated into immediate, buildup, and route pressure. Immediate pressure comes from enemies already visible or attacking. Buildup pressure appears when more enemies arrive, regroup, or surround an area. Route pressure is the distance and difficulty of leaving safely.
| Threat layer | What you notice | Why it matters |
|---|---|---|
| Immediate pressure | Enemies are close, chasing, or firing | Reduces reaction time and movement options |
| Buildup pressure | Enemy groups keep growing or returning | Shows that the encounter may be escalating |
| Route pressure | The exit is distant, narrow, or poorly positioned | Turns a manageable fight into a costly retreat |
| Economic pressure | Your cargo is valuable but your position is weakening | Changes the worth of continuing versus extracting |
This framework prevents a common mistake: focusing only on the visible enemy count. Two groups can represent very different risks when one is directly beside the extraction route and the other is far from it. If you want a fuller look at enemy groups and scaling, the swarm enemy breakdown provides useful context for what an escalation looks like.
The Core Danger Equation
A practical risk equation is enemy pressure × route difficulty compared with your remaining escape capacity. Enemy pressure includes numbers, proximity, and whether they are coordinating. Route difficulty includes distance, terrain, visibility, and the chance of meeting additional enemies. Escape capacity depends on health, mobility, ammunition, available extraction options, and how much cargo you must protect.
This is not a numeric formula displayed by the game, and values may vary by build or version. It is a decision model supported by the escalating behavior players report: encounters become less forgiving as the run continues. The important operational point is that danger rises faster when multiple layers overlap. A distant swarm with a nearby exit can be safer than a small cluster guarding the only practical route home.
Swarm Escalation and Escalating Danger
The swarm escalation explained by player reports is not simply a larger group appearing in one place. Instead, the encounter often compounds: enemies gather, pressure your movement, restrict safe routes, and force increasingly costly decisions. Understanding that pattern helps you separate temporary noise from a genuine escalation.
Community reports describe early encounters as easier to read because movement options remain broad. As the swarm develops, players face more opponents with less room to reposition. This does not mean every distant sound indicates danger, but repeated contact or a growing group deserves caution.
Recognizing Escalation Stages
Track danger through observable escalation cues instead of trying to predict a hidden counter. Watch whether the enemy count rises, movement lanes close, reload delays begin, or usable exits disappear. For example, if two Gravhounds appear and another joins after a lull, treat the area as entering swarm growth rather than assuming the initial sighting was random; securing nearby loot and keeping an extraction route open is safer than pushing deeper.
| Escalation stage | Common signs | Best response |
|---|---|---|
| Early contact | A small number of enemies appear | Gather useful loot and keep the exit open |
| Swarm growth | New enemies join or return after a lull | Secure the immediate area and reassess value |
| Encirclement | Movement lanes narrow from several directions | Stop extending the search and extract |
| Critical pressure | Heavy losses, reload delays, or blocked routes | Use the safest available escape option immediately |
| Run collapse | Health or mobility is too low to fight through | Abandon marginal cargo and preserve extraction |
Swarm Growth is the best early warning because it occurs before the player is fully surrounded. By the time enemies occupy every escape angle, choices are already constrained. This is why early disengagement is often more efficient than waiting for a clear win condition.
Why More Enemies Create Compound Pressure
Each additional enemy can affect more than total health. New arrivals may block a path, distract your aim, interrupt a reload, divide your attention, or force you to rotate toward a new threat. Those costs increase with each decision, so the practical danger can rise faster than the enemy count.
This effect also explains why a fight that appears winnable can become a bad trade. You may clear the first group, but the fight consumes ammunition, health, time, and position. The second group then arrives into an already weakened situation. The relevant question is not “Can I defeat these enemies?” but “Can I defeat the entire chain of pressure without losing my exit?”
For more detail on enemy categories and wave behavior, the swarm scaling guide complements this risk model. It is best used alongside your own run logs rather than as a fixed timetable, because local conditions and player behavior can shift the pace of a specific encounter.
When to Extract: A Decision Checklist
There is no universal timer that determines gravhounds when to extract. A fixed rule would ignore the core variables: route layout, cargo value, equipment condition, and enemy behavior. The safer approach is a trigger-based system that tells you when the expected value of another minute has become negative.
Extraction is usually smart when danger is rising faster than your reward. It is smart when your route is narrowing, your supplies are depleted, or the margin for one mistake has disappeared. Leaving early can preserve a successful run, while staying for one more reward may turn a good haul into a total loss.
The Three-Trigger Extraction Rule
Use three categories of trigger: single severe trigger, several mild triggers combined, or critical movement loss. A single severe trigger is enough to leave; several mild triggers together also justify withdrawal. For example, a blocked exit plus an enemy appearing behind you can escalate a manageable encounter into an extraction problem, while reduced mobility alongside shrinking cargo capacity signals that the current route is becoming unsafe. The key is to assess whether remaining cargo is worth the risk of crossing a swarm-controlled path.
| Trigger category | Example sign | Response |
|---|---|---|
| Spatial | The exit is blocked or enemies appear behind you | Stop looting and create a new route |
| Capacity | Health, ammo, mobility, or space cannot support another wave | Extract with the current haul |
| Economic | The remaining cargo is worth less than the expected loss | Secure the valuable items and leave |
| Information | You cannot identify enemy numbers or movement | Avoid committing deeper into the area |
| Time | Remaining progress is blocked by a developing swarm | Use an alternate extraction route |
Critical movement loss deserves special weight. When enemies control the space between you and safety, every additional item carried matters less because it may prevent a fast extraction. If your route requires crossing open ground under fire, treat that area as a hard boundary.
A Practical Stop-and-Check Sequence
Before committing to another search, run a rapid risk check in the order below, treating each unclear answer as a reason to reconsider the next pickup. A missing enemy count, an unconfirmed exit, or reduced health and ammunition can turn a marginal haul into a failed extraction; a clear route, sufficient capacity, and a short recovery path allow you to press on without giving the Gravhound swarm time to escalate.
-
Count visible enemies: Look for additions, repeated arrivals, or coordinated movement.
-
Locate the exit: Identify at least one route that does not pass directly through the current group.
-
Check your capacity: Compare health, ammunition, and mobility against the next likely encounter.
-
Value the cargo: Separate the value of your current haul from the value of one more item.
-
Estimate recovery time: Consider how long it would take to reach and activate extraction.
If any of the first three checks cannot be resolved quickly, extraction is the safer decision. For example, if you cannot confirm a Gravhound exit route before the next reinforcement wave arrives, moving now preserves ammunition and mobility; waiting to evaluate the swarm gives the pack more time to escalate, surround your position, and restrict your recovery path. Uncertainty is itself a danger multiplier because reaction time disappears while Gravhounds continue reinforcing and closing angles.
When a Small Haul Is Worth More Than a Bigger One
A full inventory is useful only if you can carry it out. Cargo can slow movement, occupy precious space, and increase the cost of failing. That means the marginal value of another item is not always positive. For example, a fourth weapon might raise your run value, but the extra weight can reduce movement speed during a swarm escalation, making you less able to create distance. Since losing your current haul cancels the gain from the new item, decide whether the added cargo is worth the reduced escape margin before picking it up.
For example, suppose one additional item raises the run’s value modestly, while staying requires crossing a newly occupied lane and using most remaining ammunition. The expected gain may be smaller than the chance of losing both the existing haul and the new item. Players comparing material priorities can use the material spending overview to decide which gains justify that risk.
The best extraction threshold rises when you have a safe route, full healing capacity, and a nearby exit. It falls sharply when enemies are gathering, your route is compromised, or your equipment is damaged. Flexibility matters more than one fixed number.
How Long Should You Stay in a Dangerous Area?
The answer to gravhounds how long should you stay depends on the rate of escalation relative to your route home. Ten minutes can be sensible in a controlled area with a nearby extraction point, yet reckless in a distant zone where enemies are converging. Time is only dangerous when it allows the encounter to grow faster than your ability to respond.
Use a Risk Window Instead of a Clock
A practical risk window contains three stages: secure, contested, and closing. During the secure stage, you can gather efficiently and retain multiple exits. The contested stage requires caution. The closing stage should trigger extraction unless a specific opportunity justifies immediate action.
| Risk window | Conditions | Recommended objective |
|---|---|---|
| Secure | Few enemies, broad movement, dependable exit | Collect and move toward extraction |
| Contested | Enemies present, route narrowing, resources limited | Finish only high-value nearby pickups |
| Closing | Swarm growing, route threatened, capacity low | Stop gathering and extract |
| Critical | Exit blocked or combat capacity nearly gone | Preserve remaining cargo and use the safest exit |
The closing window is where many runs become costly. A player may still be winning the current fight, but victory no longer proves that extraction will work. The objective changes from clearing enemies to preserving enough space, health, and resources to leave.
Calculate Your Remaining Exit Budget
Your exit budget is the combination of time, distance, combat capacity, and route quality. Before staying, imagine that a new group arrives immediately after the current one. Can you still move, fight briefly, and reach extraction without relying on perfect accuracy?
-
If yes, a short additional search may be reasonable.
-
If almost, gather only nearby items and turn back.
-
If no, leave immediately.
This method prevents the optimism gap, where a player assumes the next encounter will be easier because the current one appears manageable. Community experience suggests the opposite can happen: pressure tends to compound after repeated contact, making planned disengagement increasingly valuable.
If you are still learning the extraction sequence, the extraction tips overview can help separate route management from the decision to leave. First identify the route, then decide whether its remaining cost justifies more time in danger.
Settings That Make Danger Easier to Read
Settings cannot remove swarm pressure, but they can reduce uncertainty and help you react earlier. The best configuration depends on your display, input method, and sensitivity to visual clutter. A low-clutter danger read is more valuable than maximum brightness or extreme visual effects.
This portion of the gravhounds settings guide focuses on practical visibility and control rather than speculative frame-rate claims. Adjust danger cues in small steps: for example, compare a low-clutter threat highlight with stronger screen-edge indicators, then verify that both distinguish an approaching gravhound from an already active chase. Exact menu names and available options may vary by platform or version, so test each change independently and keep the most legible setup.
Visual and Interface Priorities
| Setting area | Practical goal | Why it helps |
|---|---|---|
| Enemy outlines | Make silhouettes easier to distinguish | Helps spot threats outside the central focus |
| HUD elements | Keep health, ammo, and mission data visible | Reduces the need to look away from the battlefield |
| Effect intensity | Limit obscuring flashes and particles | Improves enemy tracking in crowded fights |
| Screen brightness | Balance contrast with dark-area visibility | Makes approach routes easier to read |
| Camera motion | Reduce unnecessary shake | Helps maintain direction during pressure |
| Audio cues | Keep directional or alert sounds audible | Adds warning information beyond the visual field |
Clear threat silhouettes deserve priority because enemy recognition is the first stage of a good retreat. If you routinely lose track of where an enemy moved, a modest outline or interface adjustment may be more valuable than changing unrelated graphics options.
Communication and Difficulty Settings
Difficulty presets can influence the run experience, but the safest time to leave remains a personal decision. If the game offers separate options for sound, camera shake, enemy indicators, or accessibility, enable only those that improve information without making combat unreadable.
-
Turn up enemy recognition cues if enemies blend into the environment.
-
Keep directional audio clear enough to track movement behind or beside you.
-
Reduce camera shake if it interferes with aiming toward an exit.
-
Avoid excessive HUD clutter that hides enemy indicators.
-
Keep difficulty changes isolated so you can compare behavior fairly.
These choices work best alongside a repeatable extraction routine. Players building their first route can consult the demo and extraction guide for the broader sequence, then apply visual settings that make each step easier to recognize.
Turning Danger Awareness Into Better Runs
The most reliable improvement is not memorizing a fixed danger threshold. It is building a consistent process that recognizes escalation, preserves exit options, and stops when the expected reward turns negative. That process works across different maps, cargo goals, and equipment setups because it responds to conditions rather than memorized minutes.
A strong run therefore depends on three actions: recognize rising pressure, cap exposure, and extract while options remain. Understanding gravhounds how danger works becomes practical when you can point to a visible sign, name the cost of staying, and choose a response before panic sets in.
A Complete Run Review
After every difficult extraction, record four details: the timestamp when danger first became visible, the route or resource constraint that caused you to withdraw, the point when extraction should have begun, and what changed after you committed to leaving. For example, if a gravhound swarm escalated while you crossed a narrow corridor and depleted your remaining stamina, those details reveal whether the mistake was late recognition, poor positioning, or insufficient reserves for the return trip.
| Review item | Question to answer | Future adjustment |
|---|---|---|
| Warning sign | When did danger first become visible? | Watch for that sign earlier next time |
| Exit condition | What blocked or narrowed the route? | Choose a wider approach |
| Capacity limit | Which resource ran out first? | Carry less or preserve a reserve |
| Decision point | When should extraction have begun? | Set an earlier commitment trigger |
Reviewing warning signs is more useful than simply recording whether the run succeeded because a gravhound encounter can remain dangerous even after extraction. If a swarm’s first surge forced you across a narrow corridor and a second wave appeared while stamina was already low, surviving the encounter still exposes a preventable positioning or reserve problem. By contrast, withdrawing before the swarm fully escalates may be the strongest outcome: preserving health and stamina gives you room to handle a later gravhound swarm escalation, rather than measuring success only by whether you completed the objective.
Final Risk-Reduction Checklist
Before you commit to another dangerous area, confirm that you have at least one visible exit, enough combat capacity for one more group, and cargo that can move at your current speed. If one answer is no, reduce the objective. If two answers are no, leave.
This process also works during a job when quota matters. If you need a broader view of completing objectives without ignoring risk, the job completion guide can help separate required tasks from optional ambition. The central takeaway is simple: danger is manageable when it is read early, but dangerous when you wait for it to become obvious.
Frequently Asked Questions
Does danger in GRAVHOUNDS rise at a fixed time?
No. Danger follows the encounter’s pace rather than a universal timer. Enemy growth, route pressure, equipment condition, and your location can make two similarly long runs feel very different. Read the trend: repeated arrivals, shrinking movement options, and a compromised exit are stronger warnings than elapsed time alone.
Should I extract as soon as the swarm starts growing?
Not always, but growth should trigger an immediate reassessment. If you still have a clear exit, ample supplies, and nearby high-value loot, you may have room for one controlled action. If enemies are also narrowing your route or draining your capacity, leave before the swarm reaches the closing stage.
How can I tell if extraction has become too dangerous?
Extraction is too dangerous when you cannot identify a dependable route, lack capacity for one more group, or would need multiple favorable outcomes to escape. Treat any blocked exit or severe equipment loss as a strong trigger. The safest extraction begins before the swarm surrounds you, not after every escape option disappears.
Does carrying more loot affect when I should extract?
Yes. More valuable cargo can reduce movement options and increases what you lose if the run fails. Weigh the additional value against route distance, enemy pressure, and your remaining health and ammunition. When a marginal item requires passing through a dangerous area, preserving the current haul is often the stronger economic choice.