
Enemies
GRAVHOUNDS enemies guide: how the alien swarm escalates the longer you stay, wave defense with turrets and gravity tricks, and what is still unconfirmed about bosses and elites.
Introduction
The enemy we know in GRAVHOUNDS is the swarm — the alien horde that attacks your base on every planet and grows deadlier with every passing second. Developer material frames the swarm as the pressure valve of the whole loop: the longer your pack stays on a planet, the larger the incoming threat becomes, until extraction is the only sane move. This page explains the swarm's known behavior — escalation over time, wave-style defense encounters and the tools teams use to push it back — and stays honest about what has not been confirmed, because bosses and elite enemies have not been announced. Every mechanical claim here traces to official copy or demo observation; everything else is labeled as an open question.
Swarm Threat Reference
| Threat | Behavior | Counter |
|---|---|---|
| The Swarm | Alien horde that attacks your base constantly | Turrets, pipelines and team fire |
| Escalation | Danger scales with time on planet | Extract before the curve beats you |
| Wave Defense | Pressure arrives in escalating waves | Gravity manipulation and coordinated fire |
| Harder Worlds | Swarm composition thickens on risky planets | Fortify first, engage selectively |
Threat Cards
The Swarm
The alien horde behind every shift and the pressure that drives extraction timing.
Escalation
Danger scales with time on planet, tying pressure directly to the clock.
Wave Defense
Pressure arrives in escalating waves, turning every base into a siege position.
Harder Worlds
Swarm composition thickens on risky planets, which doubles as a difficulty dial for the whole pack.
Bosses & Elites
No boss or elite units have been announced, so this slot stays an open question.
Core Mechanics
The swarm escalates on a timer tied to time on planet. Official store copy ties danger directly to duration — the longer you stay, the greater the danger grows alongside the rewards — which makes the swarm the in-game clock for extraction decisions. Encounters play out as wave defense: alien waves press against buildings and turret lines while teams fight back using deployable defenses, gravity manipulation and coordinated fire. The Grav Beam's ability to fling enemies makes it a core defensive tool, letting packs move threats away from critical structures. Demo observations show the swarm composition growing thicker and faster on harder worlds, and the developer's framework confirms that every planet treats the swarm as its active defense.
Advantages
Keeping the enemies page scoped to the confirmed swarm keeps it truthful without sacrificing usefulness. Because the swarm is genuinely the one enemy category in official material, the page can go deep on what matters: escalation timing, wave defense behavior, turret lane theory and how the Grav Beam changes the swarm matchup. That focus also produces practical advice — when to engage versus extract, how to place defenses against wave pressure and how to read a planet's swarm intensity as a difficulty signal. The page deliberately leaves boss and elite sections as honest open questions rather than fabricated lore, and it links to the Building page where the defensive solutions live, so readers get a complete threat-and-answer loop from one hub.
Challenges
The enemies page is limited by a confession the developer has not made yet: beyond the swarm as a broad force, no individual enemy types, bosses or elite units have been officially announced. That means there is no confirmed roster to rank, no boss strategy guides to write and no enemy stats to share — precisely the content most wiki visitors expect from an enemies page. Wave composition, enemy health values and spawn logic come only from demo observation at small sample sizes. We therefore label all player-facing numbers as demo-observed or community-reported, and we keep the page's promises modest: we explain the one confirmed enemy with the depth it deserves, then wait for official reveals before expanding taxonomy.
Frequently Asked Questions
Are there bosses in GRAVHOUNDS?+
How does swarm escalation actually work?+
What is the best defense against the swarm?+
Quick Tips
Read the swarm curve as your extraction clock. Official copy ties danger directly to time on planet, so the swarm is not an ordinary enemy — it is the pressure valve that forces every extraction decision. Learn to spot the minute the curve steepens on your current world: that is the signal to secure the haul, not the moment to start one more pipeline.
Defend the approach lanes, not the walls. Demo observations and the developer's structure both point to wave-style pressure from predictable lanes. Place turrets on the main approach lines instead of scattering them evenly — two turrets covering one funnel do dramatically more work than a ring of single turrets each catching scraps.
Use the Grav Beam to change the swarm's geometry. Flinging enemies away from a downed teammate, off the generator or out of the pipeline corridor buys the exact seconds a wave defense needs. Practice one beam 'save' per run so the muscle memory exists by the time you face a treacherous world's third wave.
Featured

GRAVHOUNDS gravhounds enemy scaling: Survival by Difficulty
Decode gravhounds enemy scaling to understand escalating swarm damage, late-run pressure, and when your crew should extract.
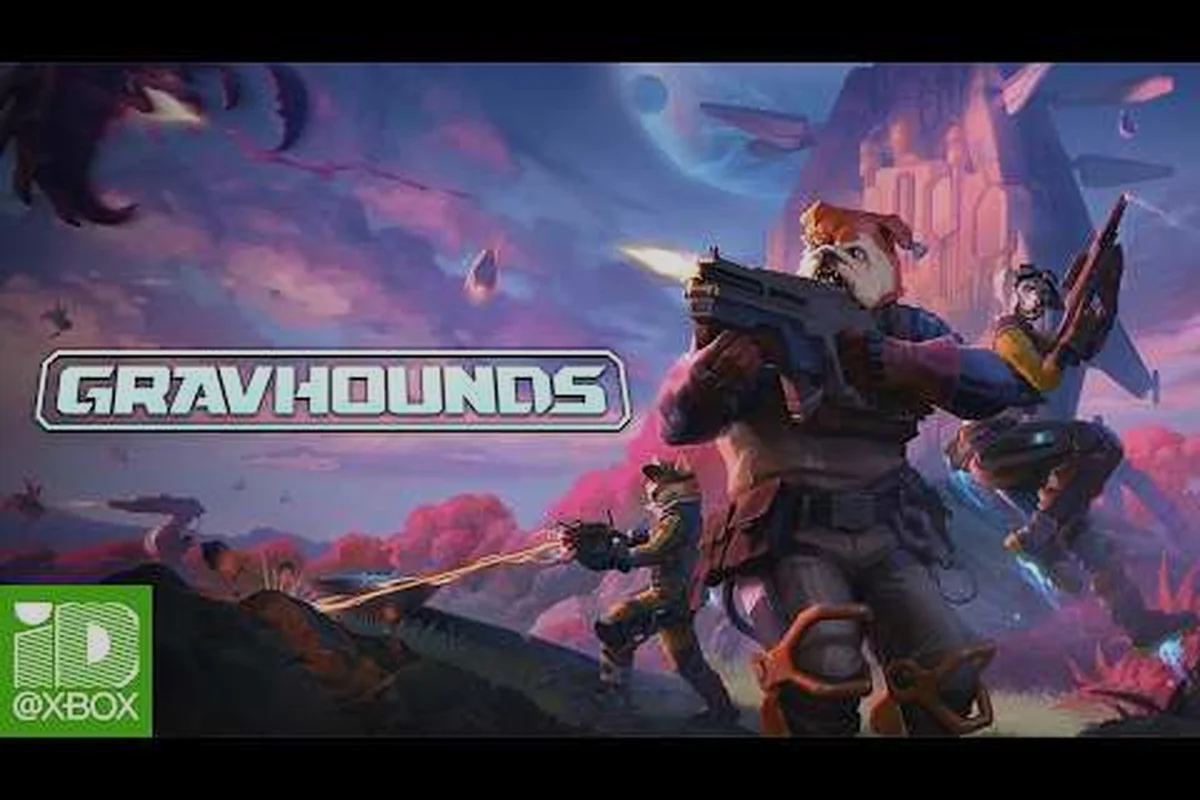
GRAVHOUNDS gravhounds grav beam enemies: Fling and Hazard Tactics
Master gravhounds grav beam enemies by launching alien swarms into hazards, controlling crowds, and turning battlefield physics into a tactical advantage.
GRAVHOUNDS gravhounds swarm tips for Solo and Co-op Runs
Apply gravhounds swarm tips for solo crews and teams, balancing aggressive fights, base defense, and time-sensitive extraction.
All Articles
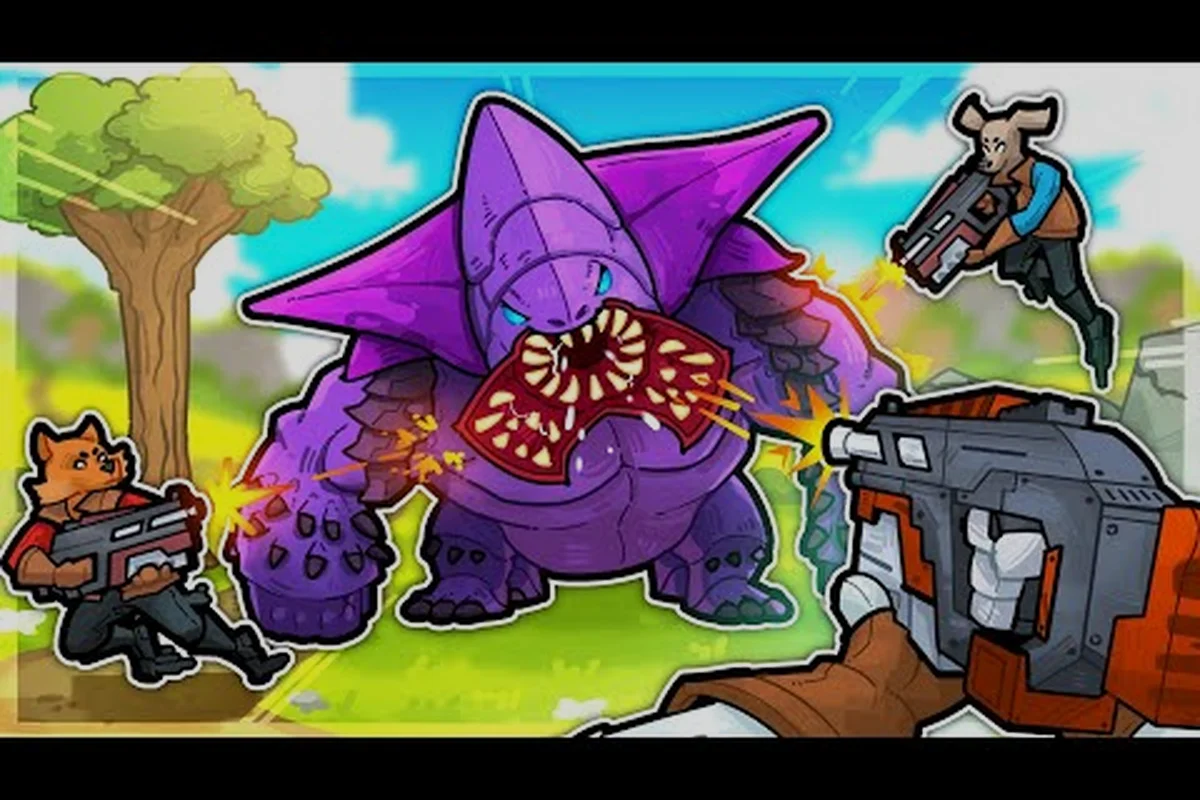
GRAVHOUNDS gravhounds boss enemies: Elites, Traits, and Counters
Investigate gravhounds boss enemies to identify elite variants, understand their special behavior, and prepare effective counters for escalating planetary threats.
GRAVHOUNDS gravhounds defense waves: Survive Every Attack
Master gravhounds defense waves by reading enemy spawns, choosing effective counters, and protecting your crew until extraction.
GRAVHOUNDS gravhounds enemies guide: Swarm Types and Escalation
Explore the gravhounds enemies guide to identify alien types, understand escalating swarm behavior, and decide when extra looting time makes extraction too risky.
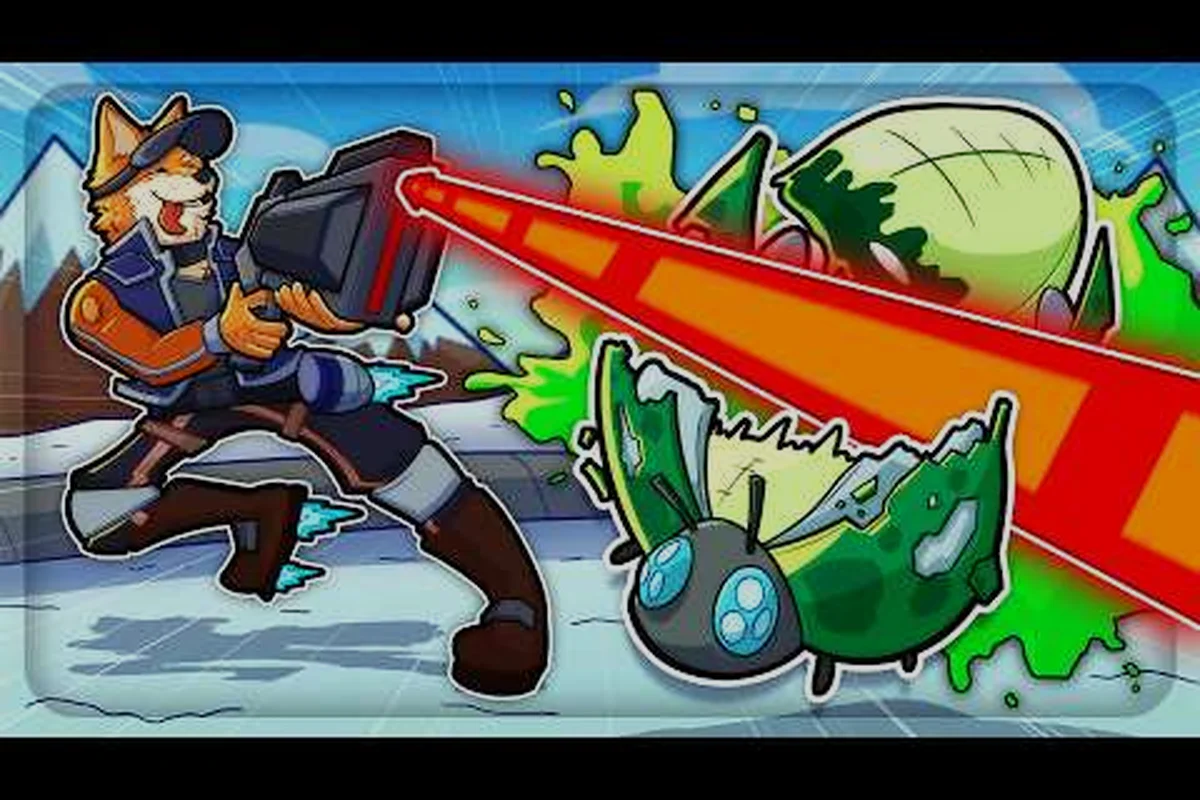
GRAVHOUNDS gravhounds swarm enemies: Waves and Behavior
Learn how gravhounds swarm enemies escalate, how alien waves behave, and why every extra minute on a planet intensifies the threat.
GRAVHOUNDS gravhounds swarm on planets: Composition and Risk
Compare gravhounds swarm on planets to see how hostile environments, enemy composition, and respawns shape each risky drop.