
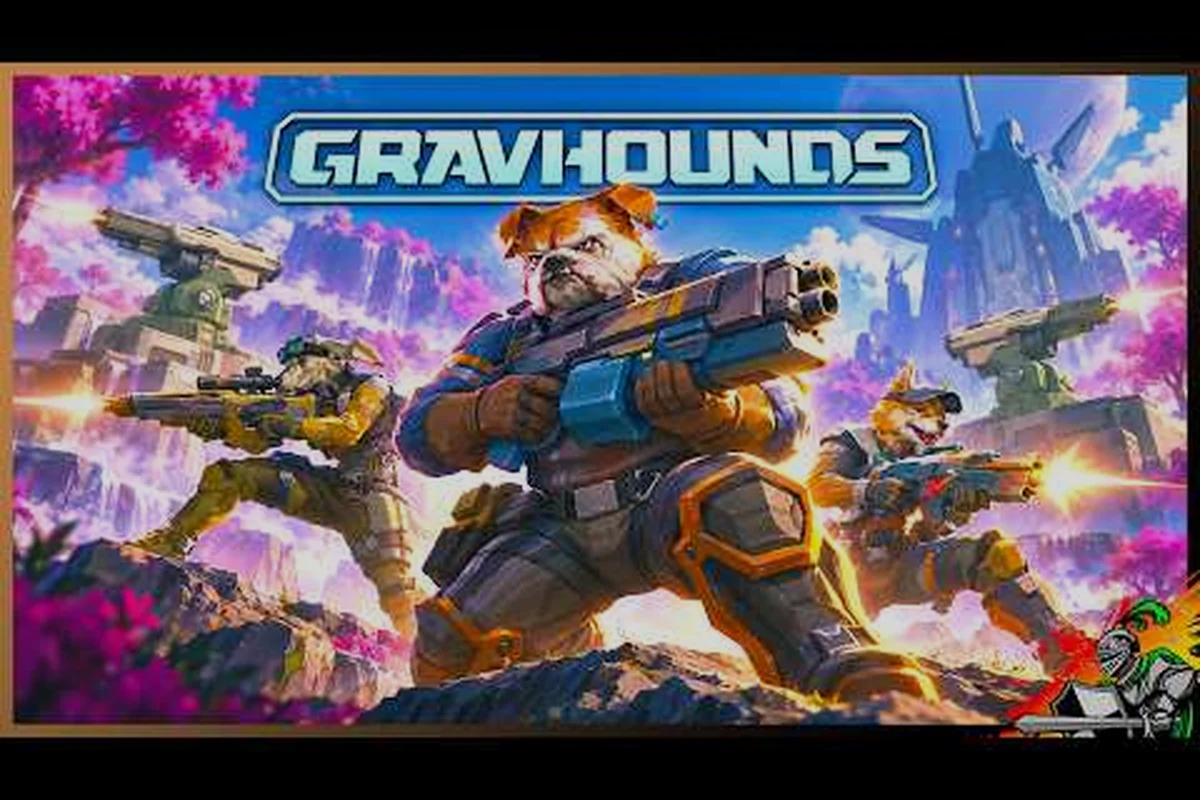
Choosing among the gravhounds melee weapons can determine whether an alien encounter ends with a clean retreat or a desperate scramble. Compare damage, reach, handling, and close-range fit before you commit, then adjust your approach for the threat in front of you.
How Gravhounds Melee Weapons Define Close-Range Combat
Melee tools in GRAVHOUNDS occupy a specific combat space: they reward positioning, timing, and weapon familiarity rather than raw range. The right choice depends on whether you need a quick opener, dependable pressure, or a heavy strike that can disrupt a dangerous target.
Because alien behavior can compress the available space, reach and handling matter as much as a large damage number. A weapon that lands strong hits but swings slowly may be less reliable than a lighter option that lets you react and reposition.
The comparison below separates the practical attributes that should guide your choice: weapon damage, reach, handling, close-range fit, and heavy impact. Treat them as linked combat variables rather than independent scores. For example, a high-damage GRAVHOUNDS melee weapon may need a wider swing arc, making it less dependable when aliens force close-range exchanges; a faster, shorter-reaching tool can therefore deliver more damage over time if its attack frequency keeps pace with the threat.
| Attribute | What it means in combat | Why it matters |
|---|---|---|
| Weapon damage | The potential punishment dealt by a successful hit | Helps estimate burst against weaker enemies |
| Reach | The distance covered by the attack | Affects whether you can strike before an alien closes in |
| Handling | How easily the weapon is moved and read | Influences reaction speed and attack frequency |
| Close-range fit | Suitability for fighting at short distance | Determines which enemies and spaces suit the tool |
| Heavy impact | Extra force behind a slower or stronger attack | Useful when a hit needs to interrupt or stagger |
These categories describe decision-making priorities, not a fixed ranking. A weapon with lower theoretical damage can still be better when the encounter gives you little room to swing. Conversely, extra reach only matters if your position allows you to use it.
Before committing to a particular build, compare the complete weapon inventory with the GRAVHOUNDS weapons overview. That wider view helps separate melee performance from ranged options that may cover a completely different role. Use weapon damage, reach, handling, close-range fit, and heavy impact together: a high-damage GRAVHOUNDS melee weapon can lose value if its wider swing arc delays the next attack, while a lighter long-range weapon may be more reliable when aliens close the gap. Conversely, extra reach or heavy impact becomes decisive only when your position gives you room to exploit it.
Comparing Gravhounds Weapon Damage and Reach
A useful comparison starts with two questions: how much damage can the weapon deliver, and how reliably can you land it? Those figures are related, because an impressive strike has little value if the swing misses or leaves you exposed.
Exact damage values can change through balance updates, upgrades, or game-version differences. Treat the figures presented by players as practical observations, verify them against your current interface, and compare base output separately from upgraded output. The goal is not to chase the largest number but to identify the best hit for the available combat window.
Reach Creates Different Attack Windows
Long melee reach gives you more time to start an attack, but it does not guarantee safer spacing. You still need to watch the enemy’s lunge, step around obstacles, and avoid leaving the weapon committed when the target changes direction. In tight corridors, a longer swing can collide with the environment or become difficult to recover from.
Close reach offers the opposite advantage: fast, compact motions suit cluttered rooms and enemies that are already beside you. The best gravhounds close range weapons are therefore not automatically the highest-damage options. They are the tools that remain useful when there is almost no room to create distance.
Handling Separates Quick Strikes from Heavy Blows
Quick-handled weapons generally reward repeated attacks and allow you to change targets more easily. Heavy tools create a larger commitment, which can be worthwhile against a tanky alien or when one solid hit matters more than several partial ones.
The commitment window is the interval between beginning a swing and being ready for the next action, so handling directly affects how often a gravhound can attack without exposing itself during recovery. A quick-handled melee weapon can fit another strike or a target change into that interval, supporting repeated pressure against approaching enemies. A heavy weapon uses more of the window on the swing itself, making deliberate spacing more important: waiting for a clear opening may be worth it when the hit can threaten a tanky alien, while a missed heavy swing leaves less room to retreat or reposition.
| Combat priority | Better weapon profile | Practical reason |
|---|---|---|
| Fast repositioning | Light handling and moderate reach | Reduces the time spent recovering from missed attacks |
| Repeated pressure | Quick attack rhythm | Supports multiple attempts against the same target |
| Maximum impact | Heavy swing and high damage | Rewards committing only when the opening is clear |
| Fighting in corridors | Compact reach | Lowers the risk of wasted swings or blocked attacks |
| Controlling approach | Longer reach | Creates a buffer between you and the enemy |
| Handling mixed groups | Balance between speed and damage | Lets you switch targets without overcommitting |
These general profiles make comparisons easier, but the decisive test remains an encounter with an enemy’s real movement pattern. Community reports often describe heavy weapons as stronger but less forgiving, which fits the broader trade-off between impact and recovery time.
If you want to understand how weapon rarity or progression changes a loadout’s overall strength, use the weapon tier comparison. The important point is to evaluate melee tools in the context of the rest of your equipment, not as isolated damage icons.
Heavy Weapons Versus Fast Melee Options
The gravhounds heavy weapons category appeals to players who want satisfying impact, but weight creates a tactical cost. A slower wind-up and recovery can leave little room to react, so the extra force is worth choosing only when it solves a problem that a fast close-range weapon cannot handle. Compare weapon stats rather than judging by animation alone: higher melee damage is most useful against a durable alien, whereas a heavy swing that gets interrupted may deal no damage at all.
A heavy weapon is well suited to an enemy with substantial health, especially when its attack visibly interrupts movement. It can also create breathing room if the reaction causes a nearby alien to hesitate. These benefits disappear against numerous weak enemies, where one slow attack may be interrupted before it lands.
When Heavy Impact Pays Off
Heavy melee tools shine when you can establish a rhythm: identify the enemy’s approach, create enough distance for the wind-up, commit to one strike, and reset before another threat reaches you. In that structure, weapon damage becomes the decisive factor rather than raw attack speed.
Against a single durable target, a heavy weapon may outperform a faster weapon because it removes more health per successful hit. The danger is assuming that every encounter allows this pace. If enemies surround you, a fast weapon can create more total damage opportunities because it returns to a usable state sooner.
When Fast Weapons Create More Value
Quick melee weapons excel against moving groups, erratic targets, and situations where the player has limited health. A smaller hit can still add up when it lands every time. Fast handling also makes it easier to reposition between targets instead of remaining locked into a long recovery animation.
| Situation | Heavy weapon result | Fast melee result | Practical choice |
|---|---|---|---|
| One durable enemy | Potentially high damage per hit | More hits with a smaller total | Heavy if the opening is reliable |
| Several weak enemies | Risk of being surrounded | Easier to retarget | Fast |
| Narrow room | Wide swing may be obstructed | Compact motion fits better | Fast or compact melee |
| Open space | Room to time a heavy attack | Works, but may waste faster timing | Heavy when confident |
| Low-health emergency | A missed swing is costly | More chances to land a hit | Fast |
| High-armor target | Bonus impact may feel meaningful | Repeated hits may take longer | Heavy, subject to current damage rules |
No single profile wins every scenario. The strongest loadout often includes one dependable close-range tool and one heavier option, allowing you to switch according to enemy density and available space. The weapon combo guide can help translate that idea into a coordinated setup.
Reading Gravhounds Weapon Stats Without Missing the Context
A weapon panel can create false certainty when several numbers compete for attention. To read gravhounds weapon stats accurately, first confirm the comparison baseline, then interpret damage, reach, speed, and handling as parts of an attack cycle rather than isolated values.
Start by checking whether the displayed weapon is equipped, upgraded, or being previewed. Then identify the comparison target. A basic item displayed beside a fully upgraded weapon is not an equal-state comparison, and the resulting difference can exaggerate the value of a particular stat.
Prioritize the Numbers That Change Outcomes
Damage deserves attention, particularly when comparing base damage against an enemy’s effective health after armor and other defenses. Reach matters when a target uses a fast closing animation, while handling becomes decisive when a miss leaves you exposed or several enemies converge at once. For example, a high-damage gravhounds heavy weapon may defeat a slow attacker in fewer swings, but a fast gravhounds long range weapon can create space before a charging enemy reaches you. In tight corridors, the close range weapon advantage may outweigh raw reach because walls limit safe swings and recovery time. A practical comparison should therefore track damage, attack speed, reach, and handling together: one stat may shorten the fight, but another determines whether you can land the hits safely.
| Stat to check | What it predicts | When it deserves priority | Common mistake |
|---|---|---|---|
| Base damage | Damage before modifiers | Comparing equal-state weapons | Ignoring upgrades or enemy defenses |
| Attack speed | Potential attacks per interval | Sustained pressure against one target | Assuming every hit connects |
| Reach | Preferred striking distance | Open areas and cautious approaches | Forgetting walls and hazards |
| Handling | Ease of movement and recovery | Fast groups or repeated attacks | Favoring reach in a tight room |
| Durability | Persistence through a shift | Repeated use without repairs | Ignoring upkeep costs |
| Upgrade tier | Possible stat improvement | Planning long-term equipment | Treating an upgrade as free |
These stats are most useful when measured against actual enemy behavior. A weapon that takes a long time to bring down can still be ideal for a target that stands still during its attack, while a fast weapon can be more valuable against a charging enemy. The broader loadout guide helps connect weapon attributes with the rest of your build.
Compare in Controlled Test Conditions
A reliable test uses the same enemy, the same distance, and the same number of attacks. Watch how long the swing takes, whether the enemy can interrupt it, and how much time passes before the next input is accepted. Those observations reveal whether an advertised benefit matters in practice.
Avoid evaluating a weapon during a chaotic fight with mixed enemies. The result may reflect positioning or an accidental critical hit rather than the weapon’s true performance. Repeat the test after upgrading, because better stats can change the timing advantage even when the visual behavior remains similar.
The official GRAVHOUNDS gameplay overview on YouTube provides a useful baseline for the game’s general combat presentation, although individual weapon values should still be checked in the current version. Treat footage as visual evidence rather than a stat sheet: swing animation can suggest reach or commitment, but it cannot reliably establish weapon damage, stagger strength, attack speed, or effective range. For gravhounds melee weapons, cross-check those values against current weapon stats and controlled encounters, since patches or balance updates may alter how a heavy weapon’s startup frames translate into space created for the next attack.
Choosing GRAVHOUNDS Melee Weapons by Enemy Type
The best weapon is determined partly by the enemy that reaches you first. Different threats reward different timing, reach, and impact characteristics. Instead of searching for one universal winner, identify the behavior you need to counter and match the tool to it.
Chargers and Fast Approaches
Fast attackers reduce the value of slow wind-ups because the target may enter your danger zone before the strike completes. A weapon with quick handling and moderate reach gives you a better chance to interrupt the approach without getting caught in the opening motion.
Keep your first strike predictable: against a fast gravhound charger, an overcommitted heavy weapon can whiff and leave you unable to recover before the target reaches your danger zone. A compact gravhound close-range weapon with quick handling and modest reach is safer to use twice, giving you a second attack if the first is blocked, dodged, or lands without sufficient stagger.
Durable Enemies and Tanky Targets
Against a durable enemy, damage per successful hit matters more. The gravhounds heavy weapons approach can reduce the number of attacks required, provided you have enough room and reaction time to land them. The target’s behavior is the deciding factor: a slow armored enemy may allow heavy swings, while an erratic tank can make repeated fast hits safer.
Swarming Groups
Groups punish both slow recovery and tunnel vision. A fast melee weapon lets you shift between targets, while a compact swing reduces the risk of hitting walls or adjacent enemies unintentionally. Save heavy tools for isolated targets and use a quicker weapon to create space.
| Enemy behavior | Main risk | Weapon characteristic to prioritize |
|---|---|---|
| Rapid charging | Reduced wind-up time | Quick handling and moderate reach |
| High effective health | Too many weak hits | High damage per landed strike |
| Grouped spawn | Loss of target priority | Fast recovery and easy retargeting |
| Heavy movement | Displacement or interrupt | Stable handling and committed impact |
| Ranged behavior | Forced movement | Reach and dependable timing |
| Weak but numerous | Overwhelm by attrition | Attack speed and efficiency |
This approach also keeps your options open when an encounter mixes enemy types. A heavy weapon can open a vulnerable target, while a faster option is safer for anything that closes the distance. If you need a broader view of available equipment, the complete weapons guide provides a useful reference before you refine your setup.
Practical Loadout and Upgrade Priorities
A strong melee setup is not simply the highest-damage weapon in the inventory. It is a dependable combination of reach, handling, and impact that you can use under pressure. Start with one option for routine encounters, then add a different response for crowded or durable situations.
Build Around a Reliable Default
Choose the weapon you can use consistently. Good handling often creates more value in ordinary play than a rare heavy tool reserved for a narrow situation. Your default should let you attack without repeatedly wondering whether the swing will be too slow or whether the reach will catch a wall.
A practical gravhounds melee loadout might include a balanced default chosen for reliable attack speed, reach, and weapon damage, rather than a piece that performs strongly only in one encounter. When comparing gravhounds close range weapons with gravhounds heavy weapons, prioritize the faster option for securing hits during pressure, but check the heavier tool’s damage against durable targets before committing. A compact loadout is especially useful when wall geometry can interrupt the swing and leave you vulnerable during recovery.
-
A fast, close-range weapon for swarms and confined rooms
-
A heavier option for durable enemies and controlled engagements
-
A long-range weapon for enemies that create dangerous space
-
A healing or utility option to preserve attack windows
Treat the gravhounds long range weapons in the broader inventory as support for your melee setup, not a replacement for it. Their role is to preserve distance and create a safer opening for the gravhounds melee weapons you already use. For example, a long-range option can thin out enemies approaching a doorway, giving a fast close-range weapon time to land repeated attacks without committing to a crowded corridor; a heavier weapon can then handle durable targets once space opens up. This makes the loadout’s attack speed, reach, weapon damage, and positioning work as one arrangement rather than a collection of isolated tools.
Upgrade for the Weakest Part of the Fight
If a weapon hits hard but swings too slowly, improve handling or attack rhythm before chasing raw damage. If it feels precise but cannot finish a target, prioritize damage. If reach is the issue, improve positioning or choose a different weapon because upgrade paths may not solve every spatial problem.
| Problem noticed during testing | Better upgrade priority | Reason |
|---|---|---|
| Frequent empty swings | Handling or attack speed | Increases usable attack frequency |
| Strong hits, target survives too long | Damage | Reduces the number of successful hits needed |
| Need to strike first from farther away | Reach, if available | Expands the usable attack window |
| Stamina drains before recovery | Sustained handling | Supports repeated engagement |
| Weapon breaks during routine use | Durability | Lowers maintenance pressure |
Treat upgrade availability and exact numerical effects as version-dependent, and verify the current values in your game. Community testing is useful for discovering handling patterns, but no player report should replace the live item panel when precise stats matter.
Practice a Simple Decision Sequence
Before each encounter, identify the nearest threat and ask whether you need speed, reach, or impact. Move to create the space your selected weapon requires, begin the attack only after the target commits to a predictable path, and reset immediately after the swing.
If the first attempt fails, change the distance instead of repeating the same input blindly. Step farther away for a heavy attack, close the gap for a faster one, or break contact if the enemy is interrupting your recovery. This simple sequence makes weapon stats actionable rather than decorative.
Frequently Asked Questions
Which GRAVHOUNDS melee weapons are strongest for close-range fights?
Fast-handled options generally perform best when enemies crowd you, because they recover quickly and can be redirected between targets. Heavy weapons can win against a durable opponent, but they are more vulnerable to interruptions. The strongest close-range setup depends on enemy density, available space, and whether you can land repeated attacks.
Is weapon damage more important than reach in GRAVHOUNDS?
Damage matters when your attacks connect, while reach matters when you need to strike before an enemy closes the gap. Reach is especially useful in open areas, but it has limited value in narrow corridors where walls obstruct your swing. Compare damage and reach together instead of treating either stat as automatically superior.
Are gravhounds heavy weapons worth using against groups of enemies?
They can be worthwhile against a single durable target, but groups often punish slow attack recovery and long commitment windows. A fast close-range weapon can create more opportunities and make retargeting easier. Keep a heavy option for isolated encounters if your loadout permits it, and prioritize consistent damage against groups.
Should I compare melee weapons before or after upgrading them?
Compare both equal-state versions so you can separate the base weapon from its upgrade bonuses. Use the upgraded comparison when planning current combat, but retain the base view to understand handling and reach. Also check whether the enemy’s behavior changes the value of any stat, since higher damage does not guarantee faster kills.
How do I choose between fast melee and long-range weapons?
Use long-range tools when enemies create too much danger at close distance or when you need time to react. Switch to fast melee when a charger reaches you, targets become clustered, or the enemy cannot be stopped before contact. A strong loadout uses range to control spacing and melee to finish when the opening appears.